Showing posts with label refashion. Show all posts

Thursday, April 15, 2021

DIY Straw Hat into Straw Bag!

 HI!

If you have followed my blog for a while (I mean, this was a whilllleeee ago!) I made these leather handles for an existing straw bag in this post when the handles broke off... but wanted to try remaking a bag again... this time a hat into a bag. Yes, you read that right. 


Have you ever seen this bag by designer Jil Sander? 


The second I saw it, I thought about how I could recreate that out of a hat! (I mean, right?? Totally looks like a hat) I also thought about how absurd it was that it cost $2000 :)


I purchased a cheap hat from Amazon (I'll link below in case you want the same one) or maybe you have one laying around?? A thift store is also a great place to look. This was during lockdown/quaratine & all the thrift stores were closed. A very dark time in my life ;) All jokes aside, I hope everyone is well and happy and able to enjoy their freedom and fresh air!! I was pregnant during this time so you will get to see baby bump in these photos. It was also a v hot day! I can almost feel the heat in these pics :) 


So glad to have this out there and posted! Please let me know if you have any questions or comments! Would love to be of help to anyone wanting to try this out! 


Thank you so much for reading, following and subscribing to my YouTube Channel!! (It would mean so so much to me if you would!!)


https://youtu.be/HGONBIUqIKI


With Love, 


Viktoria 


Tuesday, March 30, 2021

DIY Ruched Fabric Headband Tutorial (Remake)

 Hello friends!

I recently found a dress at Goodwill that was in the same print as one of my FAVORITE skirt (made by H&M) and I had to buy it. I didn't know what I would do with it. Maybe wear it too?? But then I noticed the cute trend of matching your headband to your skirt and thought that would be so fun to remake my old headband into this beautiful floral! 

Using an old foam headband I never wear, this tutorial turned out sooo easy! Finished it while baby napped, even taking the time to record it AND make a video! Whattttt. :) No post for almost a year, I count this as a win! haha 


Let me know what you think!!! Also, if you're not subscribed to my YouTube Channel, I would be so happy if you would! I am enjoying the other aspect of this blog and being able to share my tutorials in video form (even though I still have a lot to learn!)

You can also watch the video here: 


Hope to make more of these soon! I have about 20 projects that I have actually recorded and hope to find the time to edit and post them!


With Love, 

Viktoria 

Monday, April 20, 2020

BEGINNER SERIES: DIY Hair Scarf or Neck Tie using Scrap Fabric

Hello hello!


I thought it would be fun to do a super simple DIY that could be classified as "Beginner Series": getting you into the joy of sewing and creating!!

I found a scrap of this yellow fabric in my refashion box (from this floral wrap skirt I made a long time ago!!) and the print brightened my day! The power of yellow! I thought it would be so pretty as a hair scarf or neck scarf so I quickly turned it unto just that. This literally took like 15 min to make! That includes taking the video as well ;)

If you are nervous to start sewing or just need a quick DIY to make you feel accomplished today, this is for you.

Click here for the YOUTUBE link!!!

Please please 'Like & Subscribe' there on my YouTube channel if you are enjoying my videos!! It takes a while to make a video (as anyone that edits, knows..) and would love your support there!!! I want to continue to provide videos as an easier way to explaining tutorials and DIYs.

Anyways, on to the pictures of 4 different ways to style a hair scarf / neck scarf if you made one or already have one!

1. BOHO CHIC - Pin back from of your hair from the lesser parted side;
wrap scarf around your head and tie behind your head, on top of your hair (not on the underside)
(I love this look with a swimsuit!!)


2. The simple pony. I wrapped the scarf around the pony before tying it, for a more secure fit.


3. Simple pony + HAT! This makes such an impact!! Bad hair day NEVER with this technique! :)


4. The neck scarf : I wrapped it around my neck first than tied it in the front but depeneding on the length of your scarf, you can just tie right away! Floral looks great with a stripe!


Thank you so much for reading and following along!! Please comment if you have any questions or if you tried this! Would love to see how you styled your scarf: tag me on IG @byviktoria!


With Love,

Viktoria 

Thursday, December 13, 2018

Low Back Bow-Tie Top

Happy D E C E M B E R!!!

The happiest month of the year!!


I don't know about you but I love being a little more "dressed-up" during the holidays! Even when I'm just in some jeans, I always reach for a fancier top and a pair of heels. Something that is a little more feminine, something that makes you feel like a girl :)

This is where the idea was rooted. Wanting a comfy top that was still special and dressy.
I started the search in Target looking for a comfy top to refashion and after not finding anything, went searching in my closet. Guess what! Found the most perfect thick cotton top that I had gotten from Target (on clearance) a couple years ago... laying on the bottom of my sweater pile, not being worn. I am sure you can find something too! A solid color would work best (black looks more dressed up) but make sure it's not a knit or silky/ super stretchy fabric (harder to work with!)


I had envisioned this top with a large stiff bow but since I was using what I had on hand, it turned into a more dainty simple tie which I still love! But I give you *creative freedom* to do as you wish! :)

What you need:
-Simple (thicker) cotton or similar top
-Ribbon/sash for the bow
-Sewing machine
-Scissors

Heres the video how-to!!


https://youtu.be/_0g-Knz9pnM

I hope the videos are helpful for you and you attempt to refashion something of your own!!

Please don't hesitate to ask questions!! Let me know if you tried this or it's something you will try!


Beautiful photography by Tamara Chepelyuk 

Happiest Holidays and all the Christmas Joy to you!!

With Love,
Viktoria


Tuesday, April 10, 2018

Dress into Two-Piece Set - Tie Crop-top & Skirt

Hello friends!

Hope the sun is shining where you are!


I have been LOVING all the adorable two-piece sets everyone is wearing lately. You too? All you need is a few clearance finds and some warm weather and you can be rocking it, too! :)

Although some of you may wince at the thought of cutting into something brand new, I want to reassure you that you can find great pieces that are easy for refashioning at great prices in some of your favorite stores! Places like H&M, Forever21 and Old Navy have racks full of clearance items where you can easily find multiples of the same item perfect for this project!

This simple floral dress was on sale for $12. It is a nice thick material and already has pockets (so worth it!) So for the price of $24, I have a cute matching set and also the option of wearing them as separates, too! Or maybe you'll get lucky (unlike me) and find the perfect longer dress from the thrift store to chop up! I searched for months until I finally gave up..

You will need:

Two dresses (with pockets optional) OR a longer dress like a midi or maxi
Elastic waistband
Sewing machine and matching thread

CLICK to watch the video or see below! Let me know what you think!!


I hope watching it is easier to understand! Please do not hesitate to ask any questions or leave feedback!

Thanks SOOOO much for reading! You guys make me smile!


Now, bring on the warm weather!!

With Love,
Viktoria 

Monday, February 26, 2018

High-Waisted Wide Legs For Days Pants DIY Refashion

Hi hi!


I am so excited to share my first video refashion with you!! I have been wanting to try to record my refashions for a while now- mostly because photos make it SO hard to explain things sometimes- But also because I personally have loved watching other refashion videos and thought YOU might like it too! Also so you can see how easy most of my refashions really really are!!

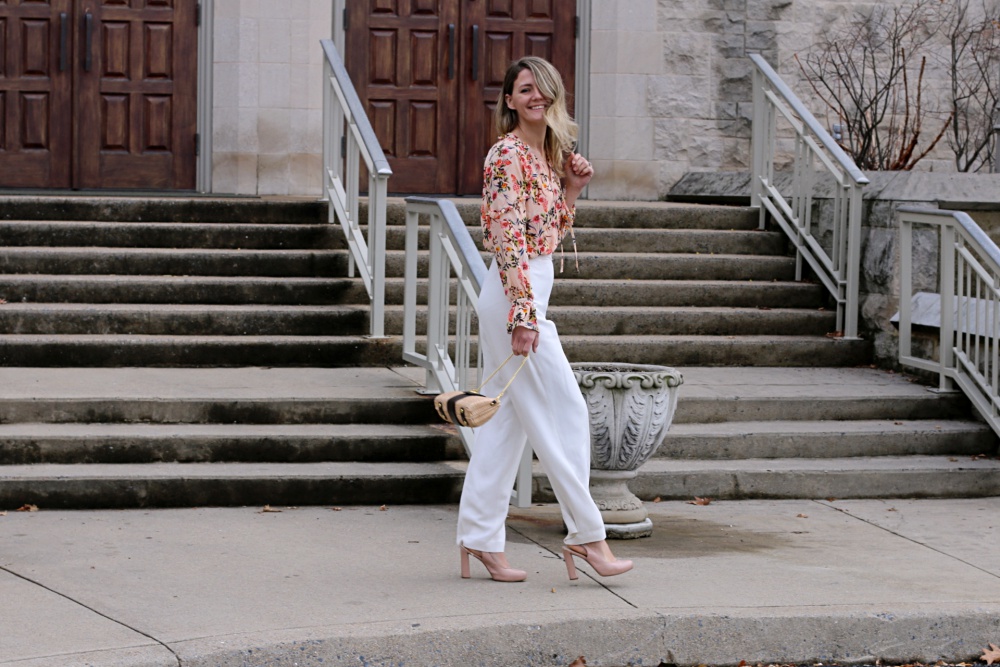
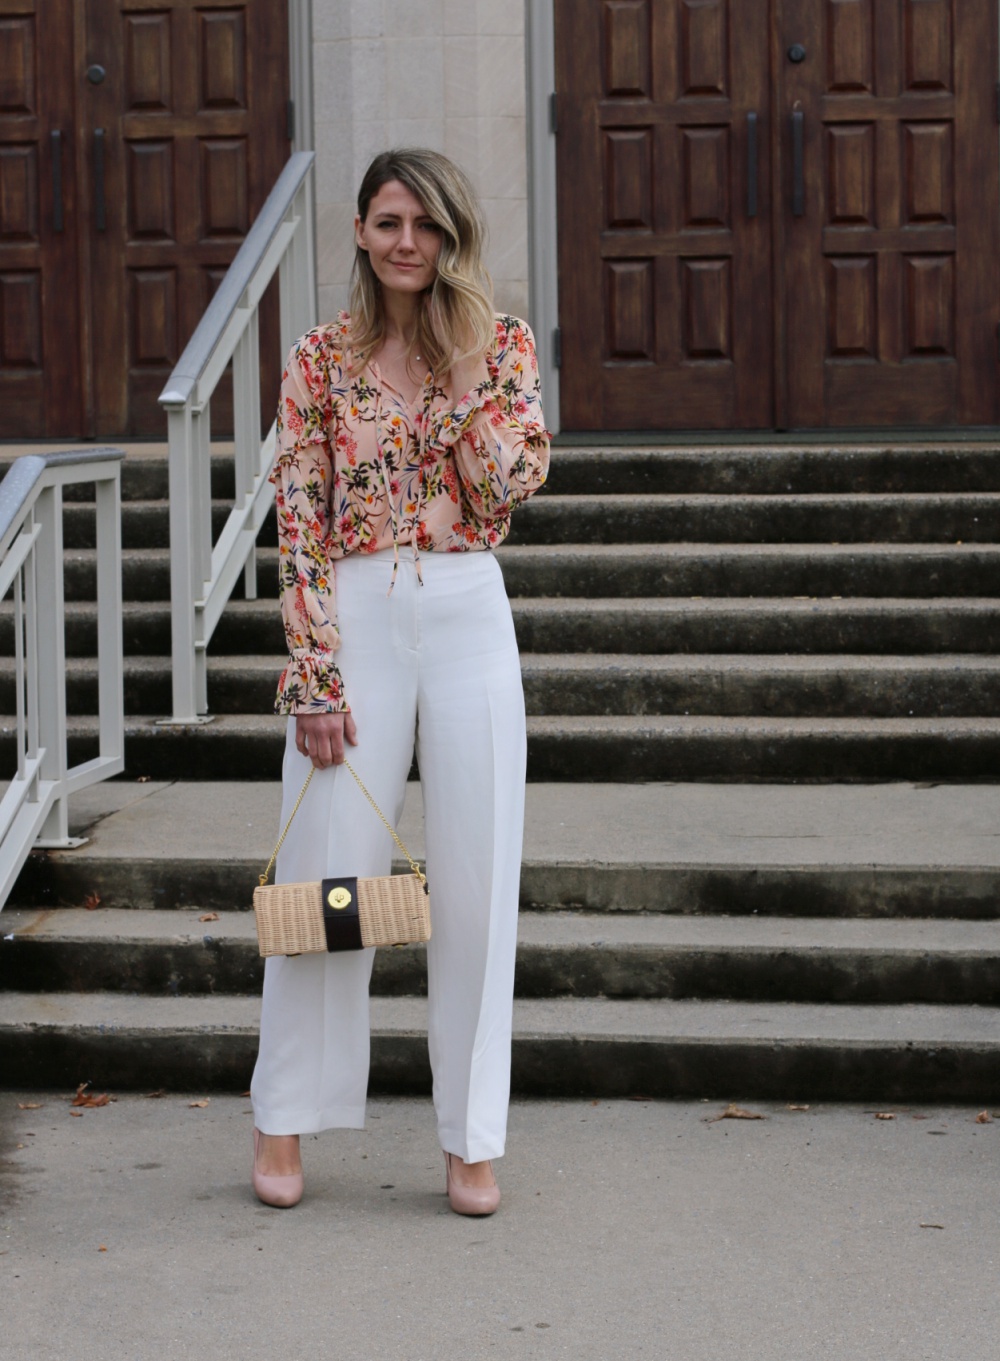
I have been on the hunt for a nice pair of white pants that were 

a. high waisted
b. wide leg
c. good quality
d. affordable

Needless to say, that was not easy to find. I never even hoped to find one in a thrift store. So when I found this pair of lined, quality white pants at one of our thrift stores, I was so happy! I wasn't sure how the refashion would turn out but for $1.00, it was worth trying. (yes, we have a local thrift store that's crazy cheap but you have to dig to find gems)

This is a simple tutorial of how to take in a pair of pants. These were lined so *technically* you should take the lining apart and take them in both separately. I am sorry if you are here for a professional tutorial. I am all about the quick and easy version that works for me! I don't care too much about the technique as long as it looks good! I think this makes sewing more approachable and releases you from the worry of being a perfectionist! 

I still remember the first few things I started sewing - My mom had a large collection of fabric and random things in our sheds and barn. It was boxes and boxes of fabrics! My sister and I would take the stretchy ones, wrap it around our body and then sew a line straight down. It would make a tube top or a tube dress (things we were not allowed to wear haha). We also then attach other fabrics by tucking them into the dress to make trains and more "avant garde" type of looks. We had runway shows for our imaginary friends. So you could say I've been a model and fashion designer all my life ðŸ˜† And yes, I tell everyone that I had the BEST childhood. :)


I hope you enjoyed the video and it gives you inspiration (and courage!) to try something new!

As always, I love feedback! Did you like the video?? Was it easier to understand? Any requests for specific DIY's?

Thanks so much for reading ðŸ˜˜

With Love,

Viktoria 


Wednesday, May 24, 2017

Ruffled and Striped Wrap-Skirt Tutorial (& Best Way to Shop for Sunglasses!)


I am so happy we are in the stage of maxi and midi skirts. It is so feminine and girly! I have wanted to do another play on the wrap skirt but in a more flowy shape this time (See my structured mini wrap skirt here!). When I found this lucky stripe fabric at the thrift store (3.5 yards for $3.50! YAY!), I knew it'd be perfect.

Unfortunately some of my photos got deleted but do not be intimidated! It is an easy skirt to make!

Since I wanted the stripes to go down (not across) I had to sew two pieces together. It also added length to the skirt. (mine was 29 inches long but you may choose to make it longer or shorter)

Sew together your two squares that should equal around 70 inches.(Or double the measurement of wrapping the measuring tape around you in a wrap skirt way).

Fold on your sewn line and cut the side of the skirt in an curve from the top sloping smaller down. This will create the ruffled open effect in the front of your skirt.  There is no template: just make sure your curves aren't too sharp. You want it to go smoothly from the bottom to the top in an arch curve.

Sew a baste stitch on top and pull gently on one of the thread to create a gather. (Make sure one end is back-stitched and secure so you don't lose your ruffle!)

Make a waistband. (See here for picture)
Mine is 130 inches long / 6 inch thick strip, folded in half
(This will get smaller when you sew to the top of your skirt so keep this in mind not to make it too thin)
You will want it super long so you can wrap it all the around your waist and tie to the side.

Attach waistband to the top of your ruffle part (hiding the seams) by laying it down on top of the ruffles and sewing, then flipping it up and iron down to keep it in place. Place the waistband off center so that one side is longer (To wrap around behind your back)

At this point, measure the skirt around your waist, wrapping the front over, making sure the seam is in the middle of your butt and around to overlap the front piece. You will see the arches you cut- are they where you want them to be? If not, cut them a little higher/shorter before adding your ruffle.

To create the ruffle:

I used a large dinner size and a small saucer for my template to create larger ruffles. Cut 6 (double layered) circle cut outs


Pin and sew the edges together to make a looooong ruffle (right side to right side)

Hem the outside edge of your ruffle (longer part) by folding and sewing slowly down, folding as you go. This part is tricky because the fabric wants to go crooked. Just take it slow. If you have a serger, I envy you! ;)
Pin the short side of ruffle to the edge of your skirt all the way around the skirt/ edge of your fabric. 


To finish the ruffle, I went all the way up to the waistband and attached it there (As pictured below)


Iron down the ruffle and your skirt and you're done! Wrap around a simple tee or tank and wear with sandals or heels! This will be your summer go-to skirt! 


Also, I have discovered the best way to shop for sunglasses! Have you heard of Warby Parker?? They allow you to pick out any 5 pairs to try out at home for 5 days! Shipping is free for delivery and returns! This will take out the stress of finding which pair really suits your face. (honestly, this was very helpful especially for prescription glasses! I have been ordering my glasses online for a while now and it's always a bit of a guessing game/surprise when they come in. I am excited to order a pair now that I know how they will look before fully committing) 

Try them out! But beware- picking just 5 is the hardest part. SOO many cute styles!!


Thank you so much for reading and if you have any questions, Id love to answer them!!

With Love, 
Viktoria