Showing posts with label upcycle. Show all posts

Thursday, December 13, 2018

Low Back Bow-Tie Top

Happy D E C E M B E R!!!

The happiest month of the year!!


I don't know about you but I love being a little more "dressed-up" during the holidays! Even when I'm just in some jeans, I always reach for a fancier top and a pair of heels. Something that is a little more feminine, something that makes you feel like a girl :)

This is where the idea was rooted. Wanting a comfy top that was still special and dressy.
I started the search in Target looking for a comfy top to refashion and after not finding anything, went searching in my closet. Guess what! Found the most perfect thick cotton top that I had gotten from Target (on clearance) a couple years ago... laying on the bottom of my sweater pile, not being worn. I am sure you can find something too! A solid color would work best (black looks more dressed up) but make sure it's not a knit or silky/ super stretchy fabric (harder to work with!)


I had envisioned this top with a large stiff bow but since I was using what I had on hand, it turned into a more dainty simple tie which I still love! But I give you *creative freedom* to do as you wish! :)

What you need:
-Simple (thicker) cotton or similar top
-Ribbon/sash for the bow
-Sewing machine
-Scissors

Heres the video how-to!!


https://youtu.be/_0g-Knz9pnM

I hope the videos are helpful for you and you attempt to refashion something of your own!!

Please don't hesitate to ask questions!! Let me know if you tried this or it's something you will try!


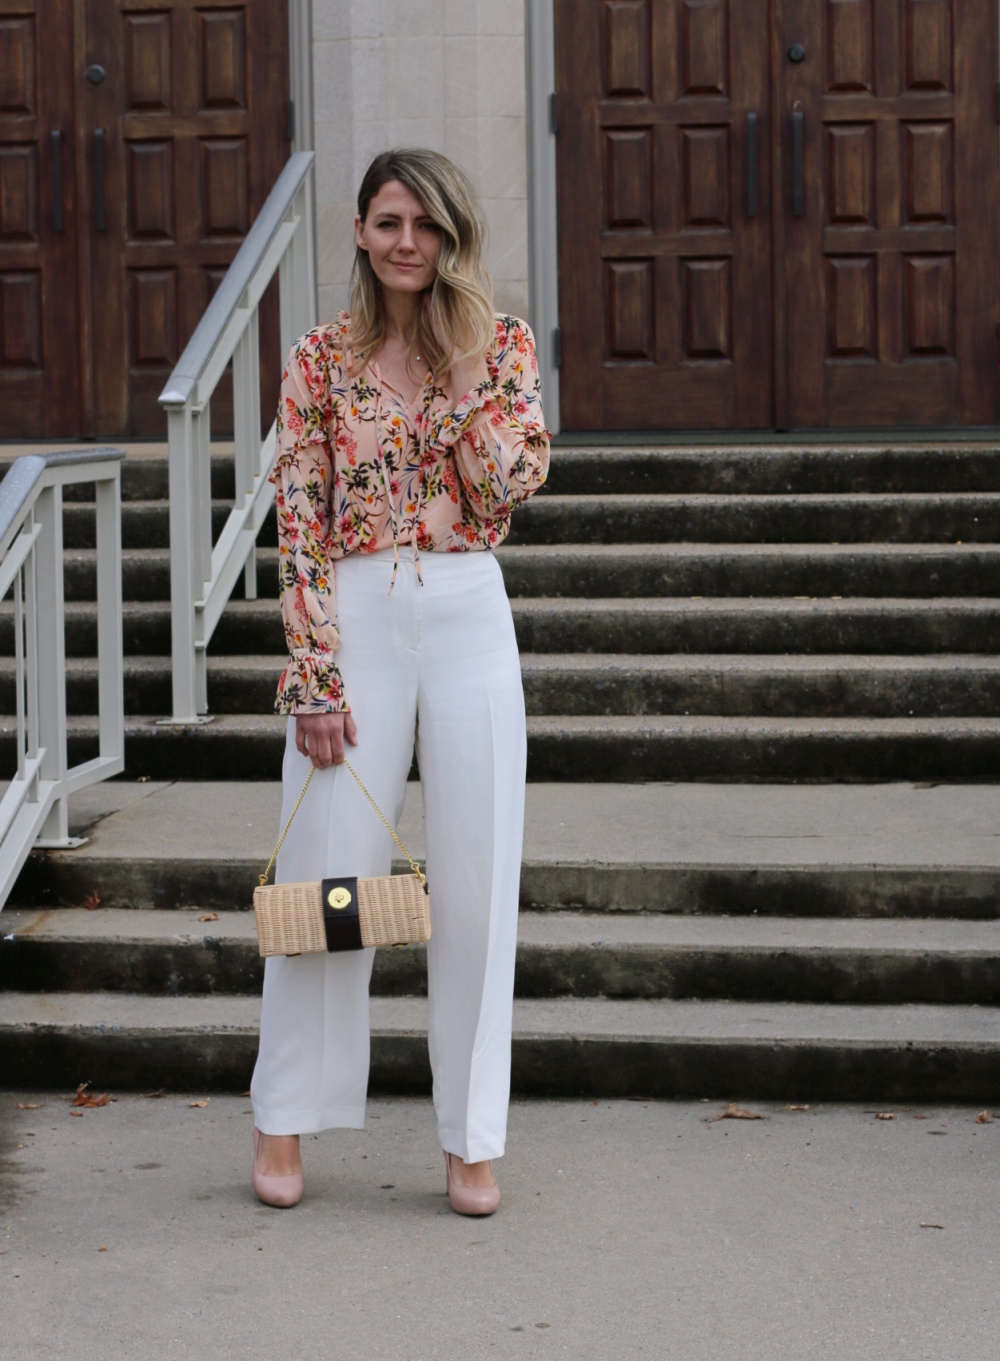
Beautiful photography by Tamara Chepelyuk 

Happiest Holidays and all the Christmas Joy to you!!

With Love,
Viktoria


Tuesday, April 10, 2018

Dress into Two-Piece Set - Tie Crop-top & Skirt

Hello friends!

Hope the sun is shining where you are!


I have been LOVING all the adorable two-piece sets everyone is wearing lately. You too? All you need is a few clearance finds and some warm weather and you can be rocking it, too! :)

Although some of you may wince at the thought of cutting into something brand new, I want to reassure you that you can find great pieces that are easy for refashioning at great prices in some of your favorite stores! Places like H&M, Forever21 and Old Navy have racks full of clearance items where you can easily find multiples of the same item perfect for this project!

This simple floral dress was on sale for $12. It is a nice thick material and already has pockets (so worth it!) So for the price of $24, I have a cute matching set and also the option of wearing them as separates, too! Or maybe you'll get lucky (unlike me) and find the perfect longer dress from the thrift store to chop up! I searched for months until I finally gave up..

You will need:

Two dresses (with pockets optional) OR a longer dress like a midi or maxi
Elastic waistband
Sewing machine and matching thread

CLICK to watch the video or see below! Let me know what you think!!


I hope watching it is easier to understand! Please do not hesitate to ask any questions or leave feedback!

Thanks SOOOO much for reading! You guys make me smile!


Now, bring on the warm weather!!

With Love,
Viktoria 

Monday, February 26, 2018

High-Waisted Wide Legs For Days Pants DIY Refashion

Hi hi!


I am so excited to share my first video refashion with you!! I have been wanting to try to record my refashions for a while now- mostly because photos make it SO hard to explain things sometimes- But also because I personally have loved watching other refashion videos and thought YOU might like it too! Also so you can see how easy most of my refashions really really are!!

I have been on the hunt for a nice pair of white pants that were 

a. high waisted
b. wide leg
c. good quality
d. affordable

Needless to say, that was not easy to find. I never even hoped to find one in a thrift store. So when I found this pair of lined, quality white pants at one of our thrift stores, I was so happy! I wasn't sure how the refashion would turn out but for $1.00, it was worth trying. (yes, we have a local thrift store that's crazy cheap but you have to dig to find gems)

This is a simple tutorial of how to take in a pair of pants. These were lined so *technically* you should take the lining apart and take them in both separately. I am sorry if you are here for a professional tutorial. I am all about the quick and easy version that works for me! I don't care too much about the technique as long as it looks good! I think this makes sewing more approachable and releases you from the worry of being a perfectionist! 

I still remember the first few things I started sewing - My mom had a large collection of fabric and random things in our sheds and barn. It was boxes and boxes of fabrics! My sister and I would take the stretchy ones, wrap it around our body and then sew a line straight down. It would make a tube top or a tube dress (things we were not allowed to wear haha). We also then attach other fabrics by tucking them into the dress to make trains and more "avant garde" type of looks. We had runway shows for our imaginary friends. So you could say I've been a model and fashion designer all my life ðŸ˜† And yes, I tell everyone that I had the BEST childhood. :)


I hope you enjoyed the video and it gives you inspiration (and courage!) to try something new!

As always, I love feedback! Did you like the video?? Was it easier to understand? Any requests for specific DIY's?

Thanks so much for reading ðŸ˜˜

With Love,

Viktoria 


Monday, May 15, 2017

Straw Bag Remake

Hello hello!

The basket/ratten/wicker bag trend is everywhere right now! I love it and want one in every shape!


I'm sure that is the reason that when the handles on this thrifted basket/beach bag ripped, it went from being placed into the trash pile to immediately placing it into the refashion pile. I am so pathetic. Even when I throw something away, I take it out of the trash. Haha!

The truth is, the straw handles rubbed uncomfortably into my shoulders when the bag was overfilled - which, as you mama's know, it is ALWAYS overfilled. The idea to make leather straps in place of the straw ones only came into mind when they conveniently ripped.

You do not have to wait for that moment to happen to you! You can carefully cut yours off and remake them- It's so easy! Here's what you will need:

Leather - I bought a decent piece in the "scraps" leather section of our local fabric store
Leather hole puncher -Michaels
Screw Posts (Brackets) - Hobby Lobby


Cut two strips of leather, about 3 inches thick, 30 inches long. Loop through exsisting slots or wider if you prefer. The good news- with a basket weave, you have many hole options. Make sure to leave enough room/lip on top to support your handles.


Using the leather hole maker, punch a few holes until you have the size you need for your brackets. 


Push the bottom piece through and screw on the end. 


Repeat to other 3 areas. :) Make the handles the way you would normally hold a bag, one side with one side. 


Wear to your next beach getaway. Or to a picnic. Or to your Monday grocery store shopping :)


Even helpful for carrying sticks :)

It's also great for holding peonies from your garden that you cant stop obsessing over. Please forgive me for the flood of images you will see. I. Cant. Stop. 

 (My sweet girl BTS, hand modeling for me)


What were we talking about again? Oh, right, the bag ;)

I love love the way it turned out and the leather is so soft and flexible on my shoulder.. No longer will my husband complain about me over packing it. well, not right away at least. :)

We took these pictures on Mother's Day and the day was refreshing and satisfying. I feel truly so blessed to be a mother and it's nice to soak in those reminders that it is a GIFT to bear that title. To hear the stories about how fast time really does fly. Take a moment and breathe in the present, dear readers! Rejoice in the now, in the place you are at. It won't always be like this. (Totally going country song on you)

My dress is from here! This is a similar one shoulder look. And love this striped dress too! This one is sitting pretty in my cart waiting for a sale :/

Have a wonderful week! Thank you for reading!

With Love,
Viktoria


Thursday, May 11, 2017

Pop of Red: DIY Silk Tie Up Sandals

Hello!


Have you been loving all the lace-up sandals lately? I really fell for the gladiator style. What screams summer getaway / easy- breezy more then sandals with brightly colored silk ties?? I didn't want to buy yet another pair of sandals and knew I had a pair that haven't been getting worn. I was right- I had these simple black strappy ones from Old Navy that I didn't feel guilty to put a knife to. Add a printed scarf (thrift store find) that's been waiting to be cut up and you have your supplies for this tutorial! :)

Lucky find!!


1. Cut strips of about 2 inches. If you want more dramatic straps you can cut them thicker.

2. Fold in half with the pattern inside and sew down the open edge. I used zig-zag stitch because the scarf was slippery satinish.

3. Using a safety pin, lope one end and pull through itself to make it "inside out" exposing the pattern.

4. My scarf was a handkerchief size. I sewed two strips together for each sandal. (4 total strips) I knotted the tips to keep from fraying.


If you have a pair of sandals that has at least one loop (like mine has in the back) you can make these!

I used an exacto-knife to cut off the straps on the left and right sides.

After making your ties, loop the folded strap around the middle of top strap.


Criss-cross through the back loop.

Ta-Da! Loved the pop of color this adds to an outift! We have been experiencing odd cold weather (IT's MAY- so weird) but imagine these with a maxi dress! A white flowy shirt?


Ta-Da! Love the pop of color this adds to an outift! We have been experiencing odd cold weather (IT's MAY- so weird) but imagine these with a maxi dress! A white flowy shirt?

If you rather buy here are some very cute options *Or perhaps to get you inspired!! Hope you decide to try this!

Inspiration right here!

Cute and simple ties

The REAL DEAL! All the heart eyes. But I hope to buy a pair in person one day :)

With Love,
 Viktoria