Wednesday, January 30, 2013

DIY Anchor Stenciled Sweater - J.Crew Inspired (Sorta)


Hi! Crazy thing happened. I had a fun idea. I planned it out, (googled and printed the anchor!) but than the next day I open up my Pinterest to see this image:


(!!!)

Ok ok- I know J.Crew didn't steal my idea (most obviously because they are mass producing this product and I just just made it) but I will proudly say that I have been inspired by J.Crew many times before! They have gorgeous things and I'm happy to "copy" them. Haha. Truth is, this idea is probably all over the blogosphere and I didn't even search in fear that everyone else did better than me. :) But I have lots of tips to share so that you make yours better than mine too!

All you need is:
  • Shirt you want to vamp up (I love it on stripes!)
  • Cut a flap off a plastic 2-fold folder to create a durable lasting stencil or if you just can't wait to make it, Cardstock works alright!
  • Anchor image (Google images and find the one you like most)
  • Razor or Exacto-knife
  • Fabric Paint (@ Michael's or craft store for a couple of dollars! Lots and lots of color choices!)
  • Paintbrush or sponge
  • Painters tape

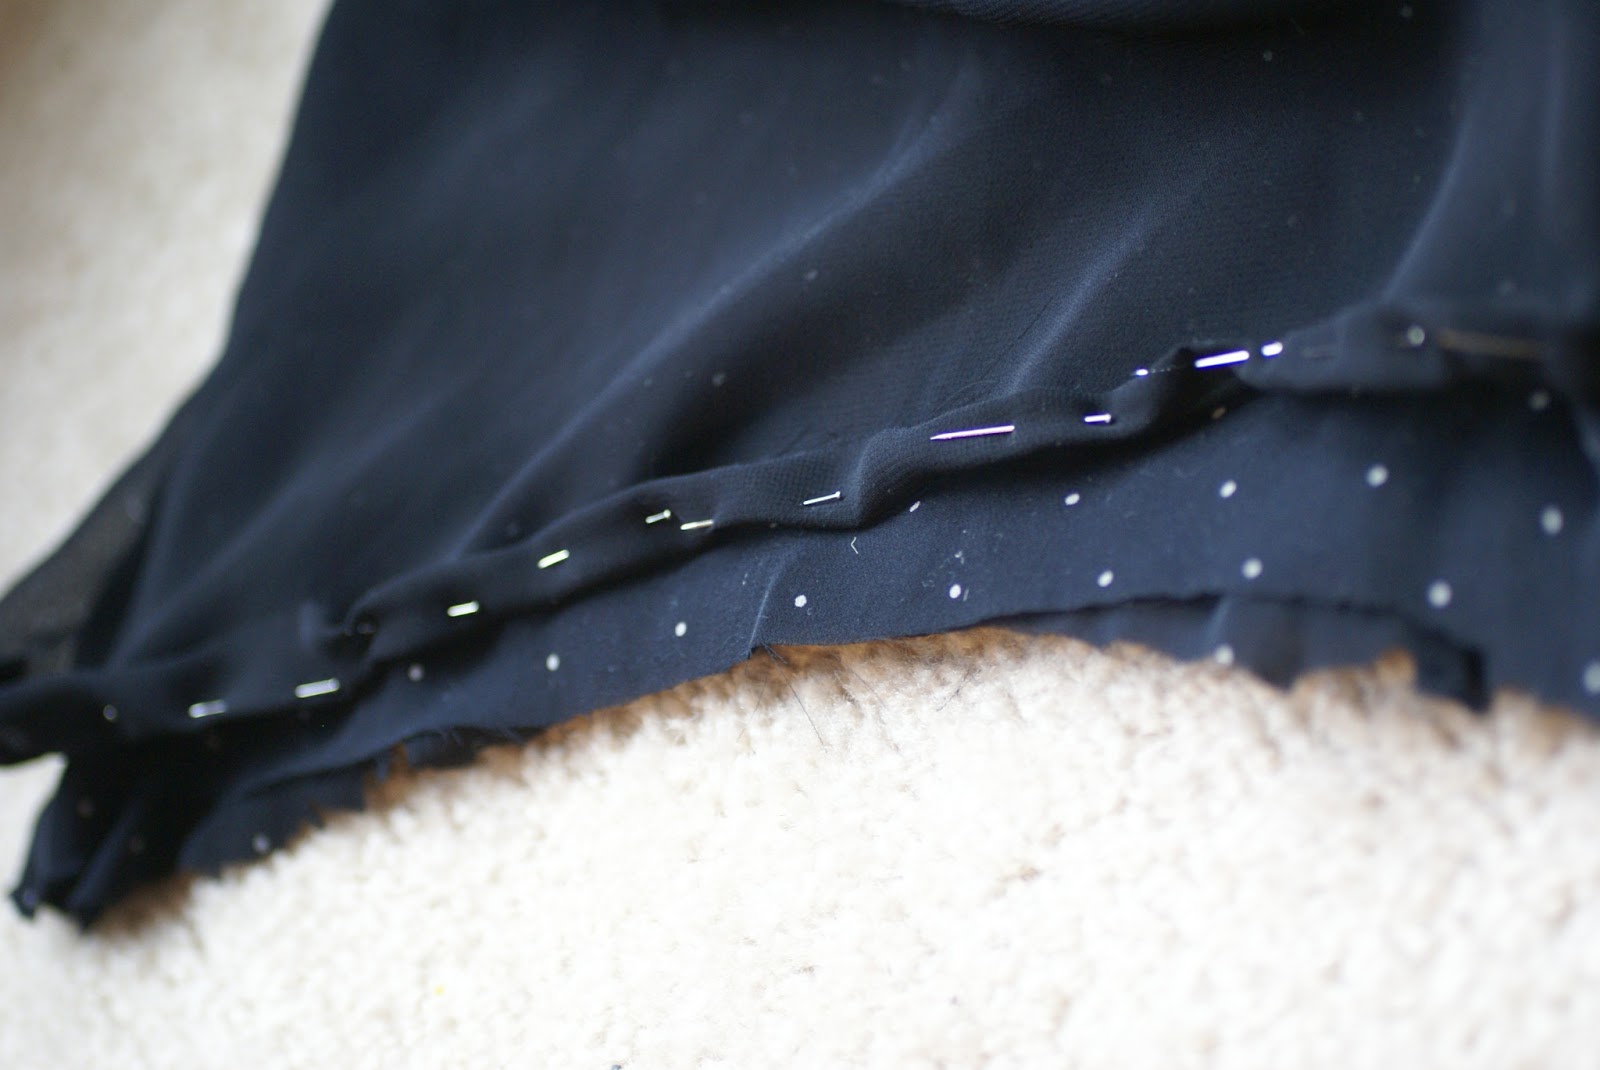
Most of these things are lying around the house. The shirt my boy is wearing was actually a thrift find! I had to sew in the sides a little because it was very wide and I knew he wouldn't grow into it. 


 Decide where you want it. I have no idea why I didn't center mine. Luckily, it turned out alright...

I taped the little piece in the middle too. This is where you can learn from my mistakes. If you are using the cardstock method, reinforce all the edges with tape so that paint doesn't seep into the gaps. The plastic cover idea makes a more sturdy stencil but I didn't have one on hand and wanted to get this project done!


After I filled in the stencil, I painted downwards with the brush all over so it looks like even strokes. A sponge could add interesting texture!

The instructions say to let dry flat for 4 hours. I didn't remove my paper stencil right away because I was nervous, but do it! Take it off. The paper will dry to the shirt and will be difficult to than take off once its dried. 

It is safe to wash after 72 hours. 

I love it! How great is this that it's gender neutral! I want one for me and for my baby girl and for a canvas beach bag and on and on! Can't you totally see a gold shimmery anchor on everything you own?? Yea, me neither. :)

One more picture - sibling love. :)


What did you think of this? Super easy, right?? 

Thanks so much for stopping by :)


Thursday, January 17, 2013

Update a Dress Tutorial- From Long to Short

Hello Hello in 2013! 

I hope you are all finding yourselves happier, healthier, and sticking to your resolutions? :) I had a huge itch to get organized and I really think I need to pounce on that before I become indifferent. That leaves me about a week until January something when statistics show most people give up on their resolutions! (Don't look that up- I have no references) 

If you follow me on Pinterest, you might have noticed all the office inspiro I have pinned. I would love to share some of my ideas for our office remake! I found the most amazing site where you can make it happen (virtually, at least). It's called: Olio Board! It's like Polyvore but for interior design! Genius, I tell you! You will either thank me for this or hate me for it. You will spend hours and hours designing rooms in your house that you don't even have. I'm sorry and your welcome. 


That's not what this post is about. I found a awfully outdated dress at my favorite thrift store (for a $1) but it was also awfully cute. :) The polka-dot print was what won me over and I knew a quick cut and hem could make this dress into something I would wear and wear. I know you can find one too. Not only are polka-dots in, but vintage floral and patterns are very trendy now too and I see those dresses hanging by the handful in thrift stores everywhere. 

This is the before:
It looks even worse with the dirty mirror ;) It is a huge pet peeve of mine but I wanted you to see the ugly before! :-/

Measure how short you want it. Measure twice, cut once. How I wish I could take my own advice... Mine went a little shorter than I wanted.

My dress was two layers of chiffon so I had to hem both layers. After you've cut to the length you want, turn the dress inside out and have your pins ready. Fold twice and pin. You want the hem to be as skinny as possible and as even as possible. This is mostly a guideline. When you begin sewing, you can reinforce the folds and make them more uniform. (That's the way I did it)

(Fold twice. Pull tight. Pin. Move on)


You're done! Even though this dress was a size 14, I didn't take in the sides or anything. Today's style is all about flow-y and loose and carefree. Belt it and you are good to go. :)


I'm sure your mom (or grandmother) has a similar style dress that they wouldn't mind you taking. Try this! I would love to see if you did! 

I kept the scraps (of course I did...) I think you know what I will make with them? :) 

Have a wonderful last day of the work week and enjoy the weekend! Much love to you all and thanks for reading. :)