Thursday, August 30, 2012

Polka Dots Everywhere! A-line to Pencil Skirt Tutorial


Hey there! 

Have you seen all the polka dots everywhere lately? I am in love. There is such a feel of youth in polka dots but I love how grown up they have gotten as well! 
Some of my favorites that inspire...


via
via
via
via  


via 


via


While thrifting in our local Goodwill, I spotted a dotted skirt and in a great durable material. It was an a-line shape so I knew I would want to adjust it to pencil and since the waist (almost) fit, it was an easy redo!


1. Place a skirt on top that fits the way you like.


Make sure the skirt your using as a template sits on your waist the same place as your redo skirt will. For example, I wanted to make this skirt into high-waisted but since the zipper was at the side, it would be too difficult to do (for my skill level!). I'm measuring with a pencil skirt that sits on my hips...


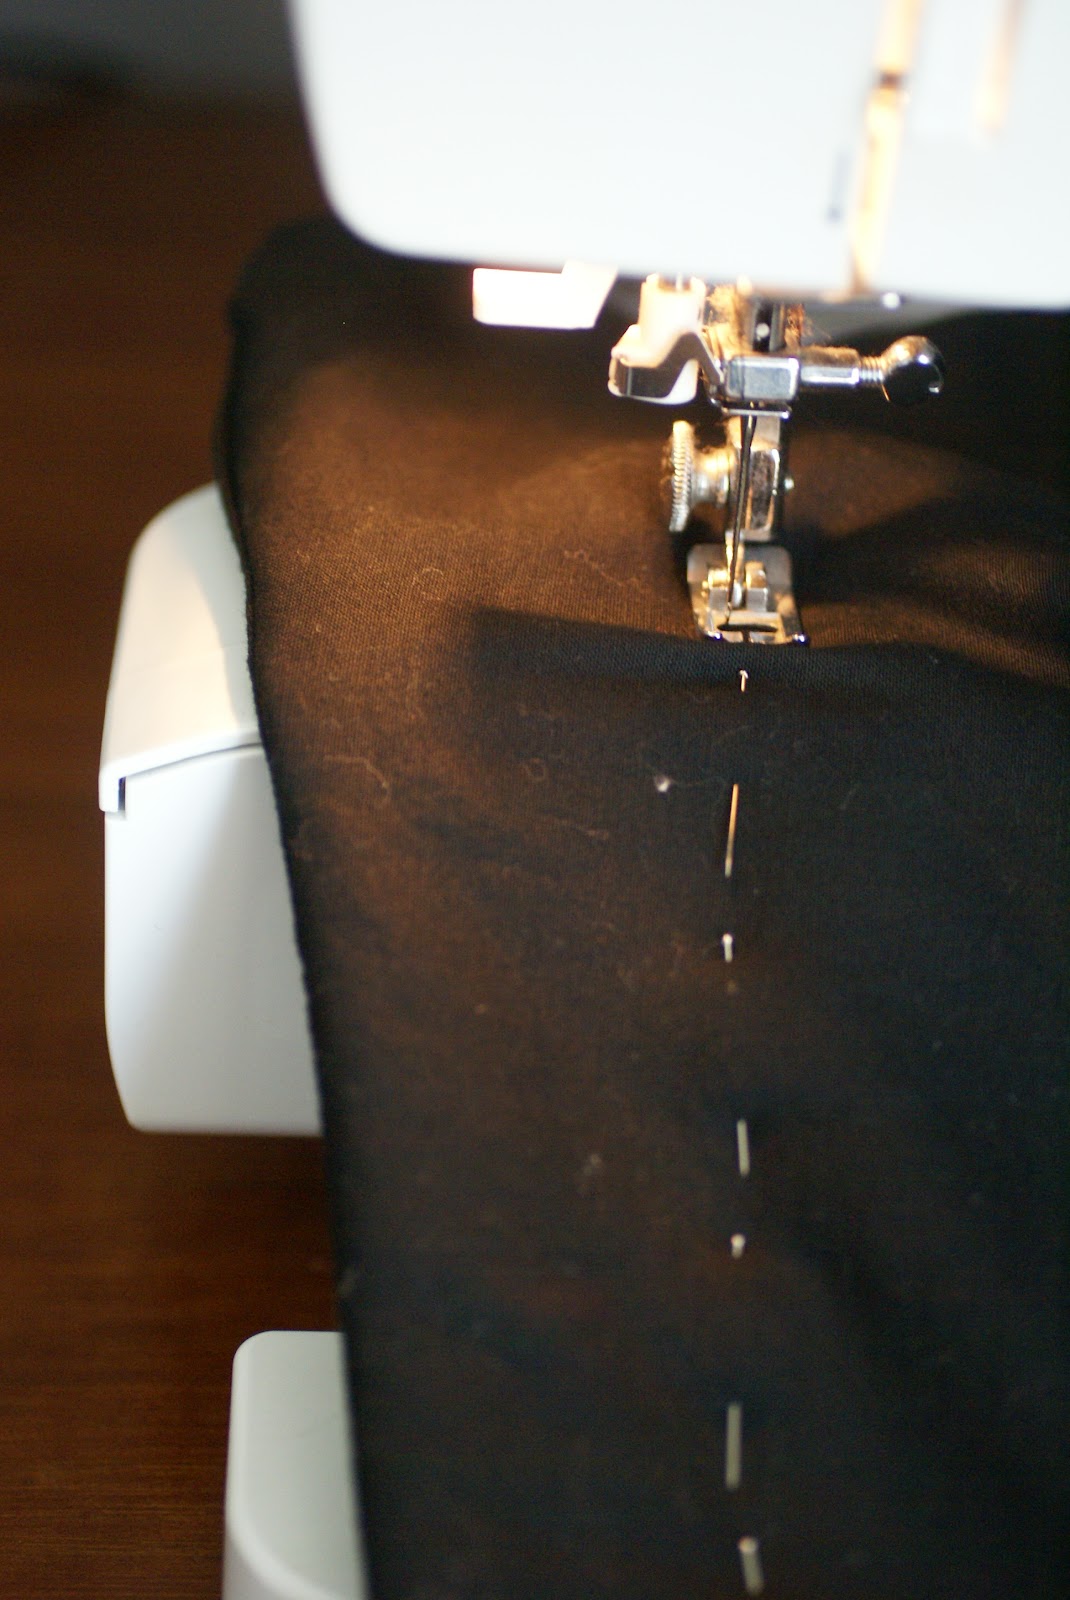
2. Measure the skirt on both sides before you pin so you have the skirt centered. Not sewing straight can cause the pattern to go side ways!

3. Draw a line and pin done the side. I originally thought I would need to follow the line of the dots, but after trying it on (with the pins) I realized the pattern gets blended in together and it wouldn't matter. You would need to pin your redo skirt inside out.


4. Since my skirt was lined, I un-threaded the top so I could smoothly transition into the original seam. (without a bulge)


 5. Sew down the line, removing pins as you go...


 6. Turn right side out and try on. Make any adjustments you want. I resewed it a little more narrow because I felt like it wasn't "pencil" enough. :)


7. Finish the edge with a zig-zag to reassure the stitch from coming apart. Cut off excess. 


  9. Done! Wear your $3 pencil skirt happily!


I have more re-fashion's to show you soon! As of now, my left pointer finger is handicap! I was busily trying to finish a shirt refashion yesterday and sewn right through my finger!! :( Painful is not an adequate word to describe it!!  I guess we all have to go it once! :) Hopefully this is my once and it won't happen again! 

Hope you are having a safe and wonderful ending to your work week! If not: the weekend is only one day away!

Thanks for reading and I would love to hear your thoughts!! Are you going to try this? If no, WHY NOT? :)

Thursday, August 9, 2012

Gold isn't tacky anymore- A DIY Necklace. Simple Jewerly Remaking

Hello Hello! 

It seems very funny to me that I am so drawn to gold. I remember quite recently it seemed to be very outdated. Now it is definitely my color of choice for jewelry and would even love a big gold watch (gasp! The gaudiness of it!) Are you in this phase too?


I was so excited about this post that I couldn't wait for decent outfit pictures! I found this chunky gold chain bracelet (necklace?) at Goodwill the other day for a dollar! I loved the way it looked and  also I've been seeing these big chain necklaces everywhere! But when I tried it on, it sort of looked like a dog collar. :) It was too short...


I found the other gold chain at Walmart for $3.00 and thought I could lengthen the necklace in some way. I love how it turned out! I think I love it more than if the chunky chain was long enough! This is almost more subtle and sweet and not so "rock and roll". 

 First I played around with the chain- the length I wanted it and how much strands I wanted it to be. I looped it through the existing jump ring and connected it to another existing jump ring with the help of jewelery pliers. 


Notice I made a mistake in this picture: I looped it around the original toggle ring end and it was uneven looking because the other side didn't have such a big ring. I had to redo it..

 
 The guts :)

 PS: Loved the toggle end! Definitely keeping that for another project!

The finished product! What do you think? Is it better than the original?


Total Cost: $4.00


Go check your local thrift store for discarded gold jewelry! I know you will find something great to remake or even ready to wear that doesn't need alterations. :) I would love to hear all about what you find!

On another topic, I had more than 100 page views in one day the other day! (126 to be exact) and we are thrilled! I can't believe that 126 people read some part of my blog that day! I feel so moved! Thank you all! God bless you! It makes me want to keep writing and I can only hope to inspire you in someway.

Thanks again for reading! Have a great end to your week and hope to see (well, talk? write to you?) soon!


Tuesday, August 7, 2012

DIY Dip Dye Ombre Top

Hello my dear reader!


I bought a plain white top at my favorite thrift store a few weeks ago. I was attracted to it because of the sheer-like fabric and the vintage cut which are both very on-trend right now. I loved the simplicity of it. 


After trying to wear the top a few times, I realized it was just too PLAIN. I though of adding lace in some way but than I remembered fabric dye and I knew I always wanted to try it. Images flooded my mind. Ombré. The word itself sounds beautiful. Although my "ombré" didn't turn out as well as I thought it would, I don't regret it. I had no idea how easy it was to dye something! I will definitely be experimentally more with this technique.


I looked for a bright or fuchsia pink but our Michael's didn't have any color like that. This was second best. It was like $2? Still can't get over how inexpensive it is and how big of a transformation it can make. It's like paint for a room! This might be common sense to you all, but just bear with me. :)


 1. There are a few different ways of dyeing. All of the steps and options are written on the box. I decided to do it with boiling water in a bucket since it was easiest for my dip dye idea. First, add boiling water to a bucket. I didn't really measure but it should be enough so the article can move freely. Wet your shirt in the hot water and then remove it. Add the dye and mix. I added half of the packet. I didn't want it to be too dark at first.


 2. Put your shirt in but keep the top part out. I "hung" it on a hanger to one side and dipped it in. This was my first mistake. I went to far and therefore have less white left then I wanted. : /

3. For the first step I did a dipping motion, hoping to obtain the ombre look. It didn't turn out. Some suggestions if you're hoping to try: Dip it in and pull some out almost immediately. The dye works fast and you won't end up seeing a difference if you leave it in longer. In other words, ignore the instructions on the box telling you to keep mixing, etc. That is for a full even dye. This wasn't supposed to be.


4. After about 5 minutes, I took out some more. Just the tip of the shirt was left. I added the rest of the dye and mixed.


 5. This part I left in for 10-15 minutes. I should have probably left it in longer. After that, follow the instructions. Rinse in cold water from top to bottom and gradually go to warm water until the water runs clear. Put in washing machine.Wash alone if it's a dark dye. Do not dry in dryer to keep the colors more vibrant! I only read that today on another blog! So, your welcome! ;)


 6. Do a better job next time! (well that step is just for me, really! I know you will do great the first time around!)


I love the back more than the front because it ended up with more white! See how much prettier that is? 


 It wasn't the color I wanted but it did end up matching perfectly with my favorite floral blazer from H&M!


Notice the rain? It was this day or wait for my photographer (my hubby!) to be avaliable again :) So, at the front door it is. :)

Although it wasn't everything I wanted it to be, I know I will still have use out of this shirt! I have already worn it with a skinny gold belt and if anything, it will always look great with this jacket. 

The total project was: $3.00. Do It Yourself!  It's worth it! 

I came across this >DIY Dip Dye Maxi Skirt < after I already made this shirt and wanted to share it with you! It is absolutely dreamy. I check out her blog every now and than because she has amazing fashion DIYs! She is currently living in Hong Kong and that's what I love most about blogs- you can connect with another person on the other side of the world!! I'm sorry- you might spend all day there!

I hope the rest of your week is LOVELY. Thanks so much for reading!