
It has been beautiful in our corner of the world. I cannot help but constantly think about how blessed I am and how there are so many others less fortunate...
If you are familiar with Pinterest, than you have probably seen this:
(If you are NOT familiar with Pinterest, where have you been??? Get on and your welcome!)

Did I REALLY complain to my husband for possibly the 100th time about not having enough storage space in our home... I'm just too embarrassed to add any more examples but there are LOTS!... But I think everyone needs this kind of weekly (or daily) reminder to be grateful. Content. Satisfied. After all:
A tranquil heart gives life to the flesh, but envy makes the bones rot. (Proverbs 14:30)
And you have to have a heart of love to be able to see the NEED in others. One of my new years resolutions... Remember those? Haha joking! (But seriously, does anyone remember theirs??) ;)
Besides that heavily weighing on my heart, I wanted to share the DIY's I did for the Mario Party!
I had so much that I wanted to accomplish but time always seems to go by faster than you expect. The one DIY that I absolutely made sure I had time to do were the Mario Hats! I think they ultimately made the party! The hat idea came to me when my son suggested the party idea and I quickly Google searched for a tutorial. I was so happy to find this:
This is a much better tutorial than I could show! Or even, why bother when this one is so simple and great and self explanatory! I used different size plates for mine. The middle circle should be much smaller! Like the tutorial says, it stretches and than becomes too big for smaller heads!

I used felt for my M sign and cut out the shape by eyeballing it from the Mario Logo. And HOT GLUE to keep it on-- so much faster than sewing :)


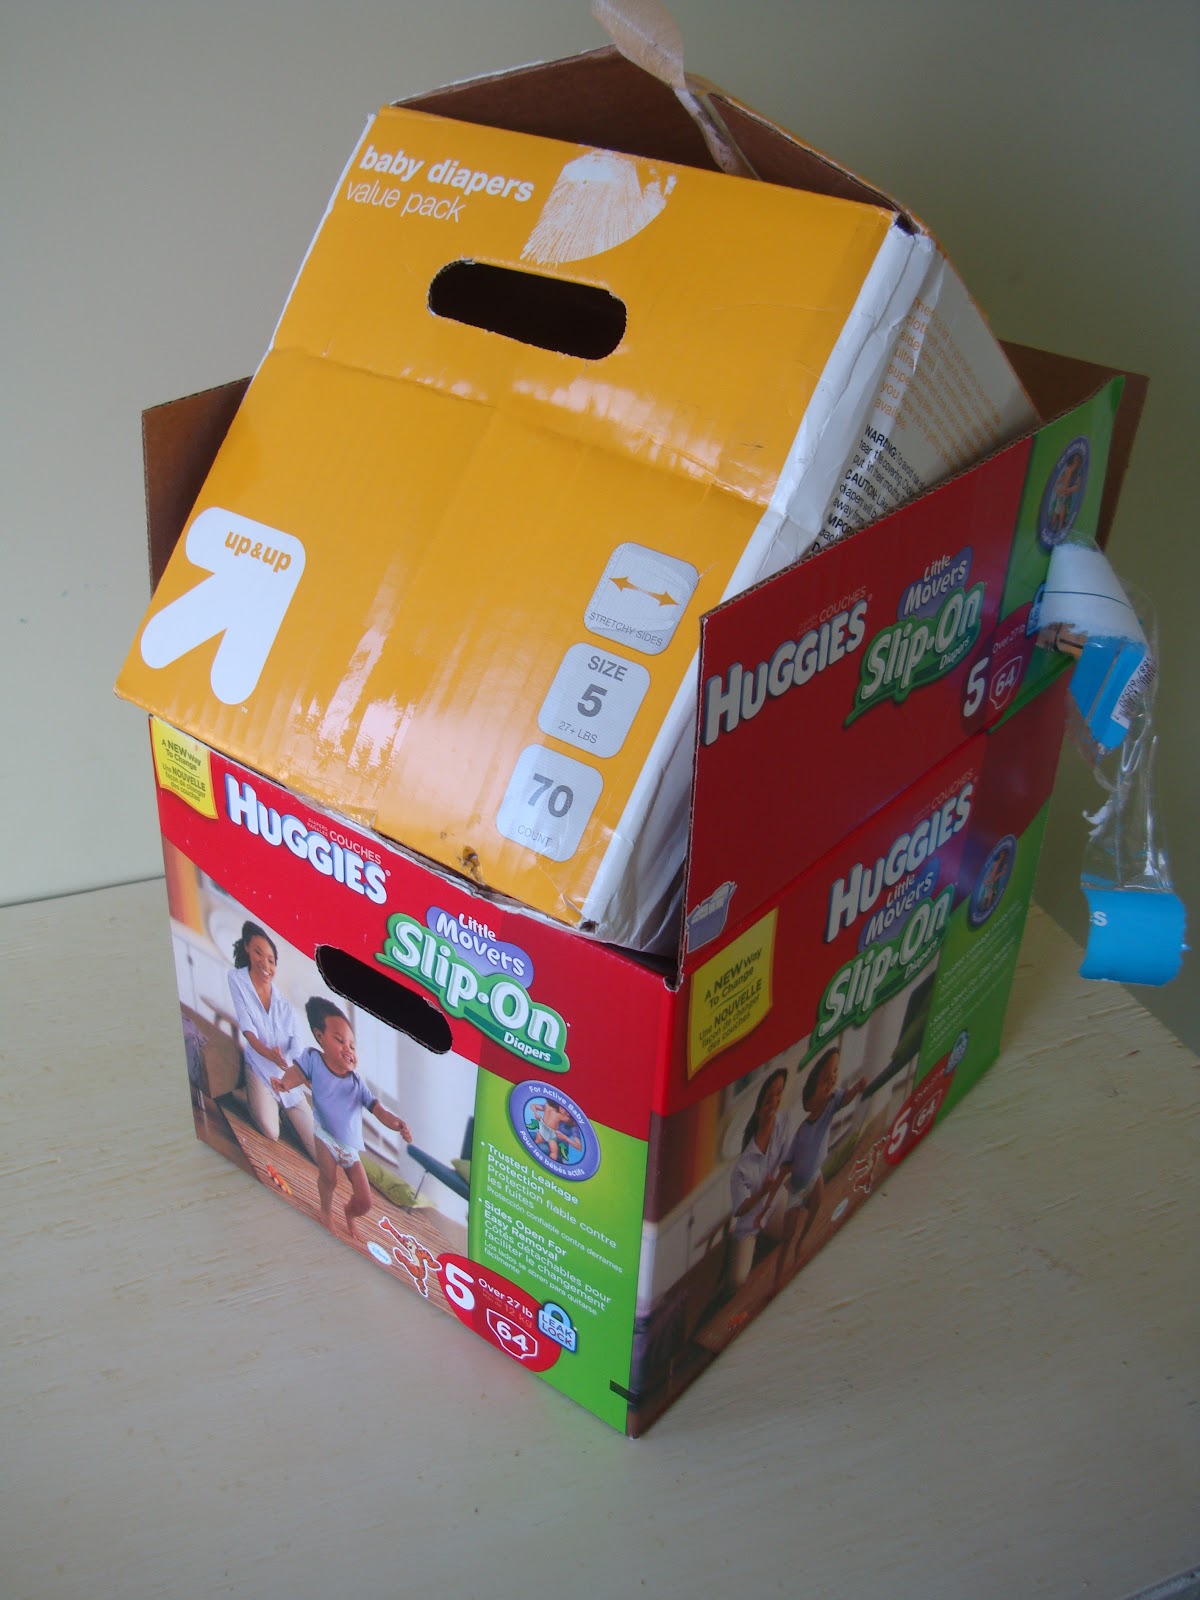
The other quick project I wanted to show is very simple. Those of you with little children probably have endless amount of empty diaper boxes laying around. If your like me, you feel too wasteful to throw them away (..... right away anyways) and you find them piling in your garage. This will get rid of 3 of them for you.
Material:
Diaper boxes, or any other cardboard box shape
Scissors
Tape
Black and Yellow spray paint (preferably the one compatible with plastic surfaces)
Glue stick
Brown Paper (I used cardstock)
Paper Cutter (optional)
Fishing line (to hang question mark)
Paper clip (unless you have a better idea)

Cut the sides to make them more square-like.

Tape around. NOTE: Try to hide the tape as much as possible by taping from the inside. The regular spray paint won't stick to the tape. Or buy the spray paint that includes plastic surfaces.This will help but still won't completely cover the tape areas. Unfortunately we did not know this. That's why our blocks aren't as great as I envisioned...

We made two "blocks" and one yellow question mark. The two blocks were spray painted black on all sides except the bottom.
Cut the brown card stock in rectangle shapes. (this is where a paper cutter is very handy) We made them all the same size and trimmed when needed.
Glue in brick-like pattern.
(see how our paint didn't stick?) :(

Who actually did most the work.. My husband's the best! :)

We used them to hold our favors, but they are great for adding elevation to food items as well

The question mark was just printed off the computer and glued on as well. We stuck a paper clip through the top middle and tied fishing line to it. Ready to hang!

Everything we did was inexpensive. It doesn't have to take a lot of money to make any event special. Just a little time! :)
Hope you are feeling happy and loved today!
By the way: we are in the process of making Emma a room! Up until now, the other bedroom has been our "office" and Em has been in our bedroom. This has been a much needed project! Stay tuned. :)
God bless!
Thanks Sveta! I feel like my turtorials are still a little rusty but hope to get better with time... and yes, you should get some kiddos! :) You would be a great mom ;) and your very nice: I'm blessed to have them!
ReplyDeleteI finally can comment on this, as you can see :) I love what you did for David's birthday party. It looked so fun and creative! I showed Vasily the pictures and he was like "oh man i missed it"... made my heart cry a little. He misses all his friends so much, but I told him we are family and family is forever and he will see everyone soon! After reading your blogs I feel a little closer to Virginia..thank you for it all! Keep up the work girl!
ReplyDeleteWe missed him here too! And we so miss you guys!! I ask David every once and a while if he stills remembers Vasenka- and he does of course. They were supposed to be best friends! :( But your right: family is forever! So I can't wait for you to come and we can catch up! Thank you for commenting!
Delete